
Nursery Spring Fine Motor Challenges
In Nursery, the children spend the first 30 minutes of each day choosing and completing varied fine motor tasks. Fine motor skills are further developed throughout the day at our Creative and Fine Motor areas. Fine motor skills involve the use of the small muscles that control the hands, fingers and thumbs, which play an essential role in helping the children to complete independent tasks such as zipping coats, fastening buttons and feeding themselves, not to mention drawing, painting and cutting. Here are some Spring-themed Fine Motor ideas that you can try at home this week to continue your child's fine motor development.
Week 1 - 20/04/20
Cut and Stick
|
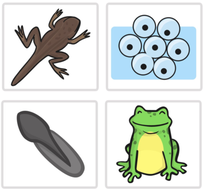
Oh no! These pictures are all jumbled up! Can you remember the life cycle of a frog? Using a child's scissors, cut out the pictures and glue them in order to create the life cycle of the frog. Click on the button below to download and print the activity pages. Remember, if you don't have a printer at home, you can use pictures that you've drawn yourself; cut them out and put them in order.
|
Painting with Cotton Buds
|
You will need:
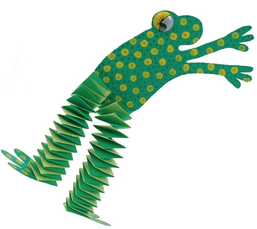
Draw an outline of a frog using your pencil. Then, using a cotton bud dipped in paint OR a marker, give your frog spots all over his body. Be careful and gentle when using your cotton bud or marker so that you don't hurt the frog! For an extra challenge, try cutting around the outline of your frog with a child's scissors. You could also create some bouncy frog legs, like the frog in the picture, by folding two long strips of paper into squares, forwards and backwards. Don't forget to send your teacher a picture on Seesaw! |
|
Hungry Frog
|
You will need:
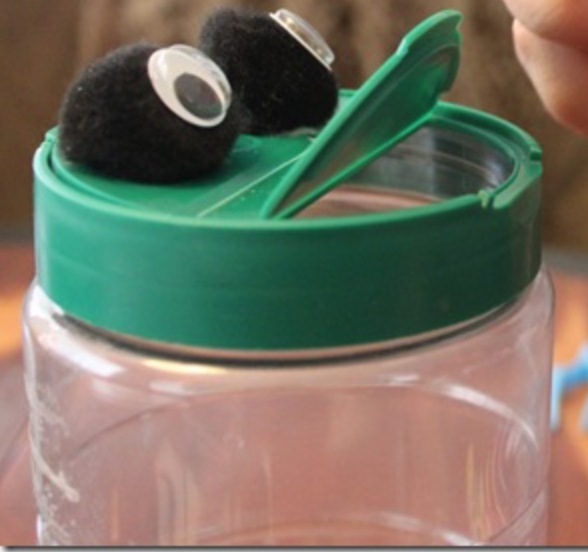
Design a frog using your empty spice container. You could paint your container green and draw eyes on the lid or stick on googly eyes! Frog is very hungry! Let's pretend that the raisins/buttons/small objects are delicious insects! Use your index or middle finger and thumb to pinch the raisins one at a time and feed the frog until he's full. Send a picture of your happy, full frog to your teacher on Seesaw! |
Pencil Control
|
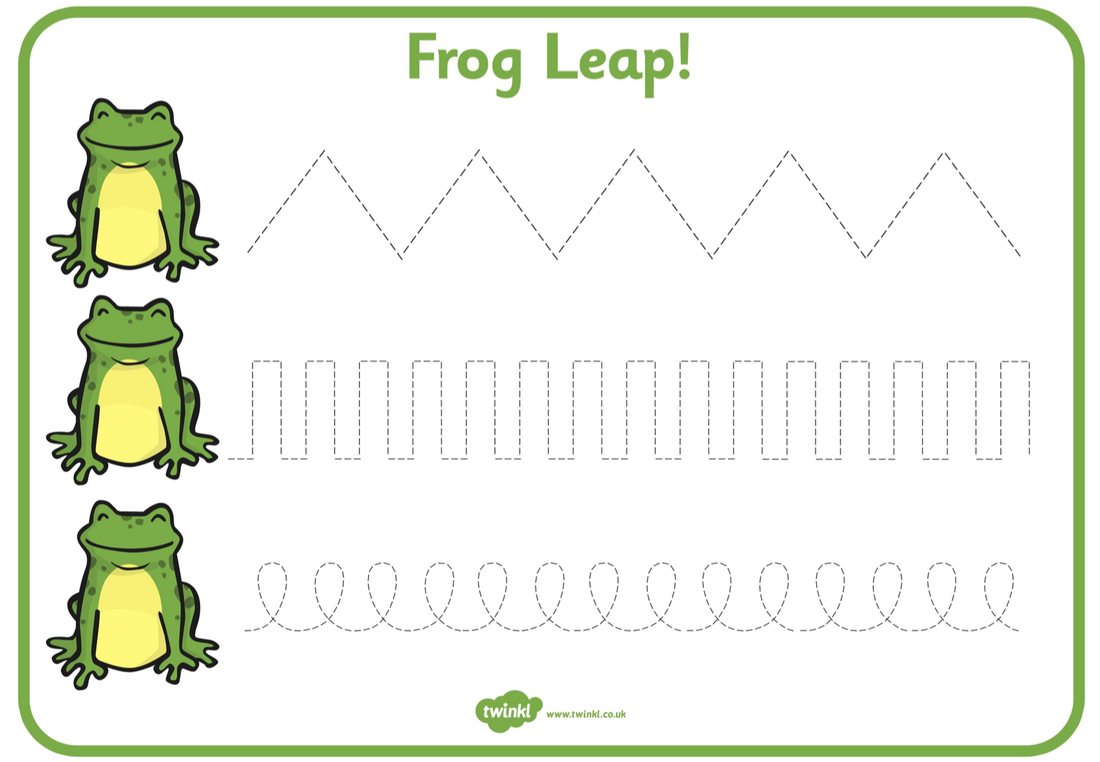
Frogs LOVE jumping! Using a crayon, colouring pencil or pencil, take a frog on a jumping journey, jumping up and down in a zigzag, jumping up to steps and down from steps and jumping around in big circles!
You can create frog journeys on your own paper or click the button below to download and print the Frog Leap Pencil Control page. |
|
Week 2 - 27/04/20
Twig Caterpillars

|
You will need:
Hunt for a small twig or branch in your garden or when you go for your daily walk. Just like magic, you're going to turn your twig into a caterpillar! Wind some wool or coloured pipe cleaners tightly around the twig to make the caterpillar's body. Ask an adult to help you secure the wool/pipe cleaner at the end! To make a caterpillar head, stick a pompom or small ball of play dough on the end. Don't forget to give him eyes to see! What are you going to call your caterpillar? Make sure to send your teacher a picture! |
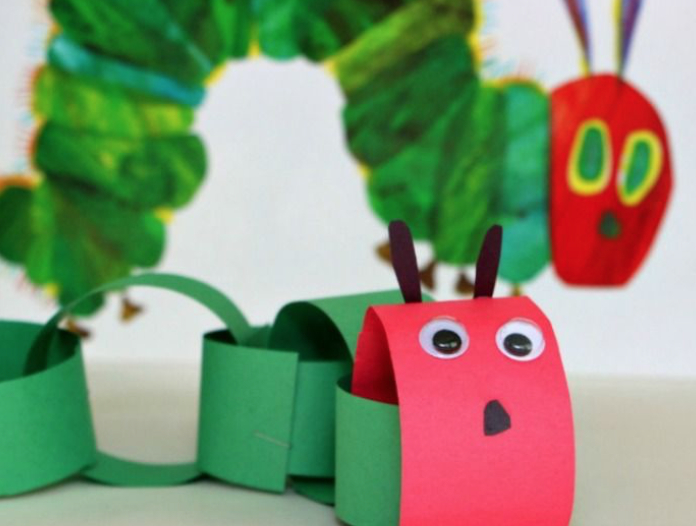
Paper Chain Caterpillars
|
You will need:
Ask an adult to draw lines widthways (about 2 inches thick) on A4 coloured/painted paper. Use your scissors to carefully follow and cut along the lines. Now it's time to make your caterpillar! Use your gluestick to put a circle of glue on one end of the strip of paper. Turn the paper into a circle and stick the two ends together. (An adult will show you how to do this at first, but try to do the rest by yourself!) Finish your caterpillar by sticking on or drawing eyes, a mouth and some antenna. |
|
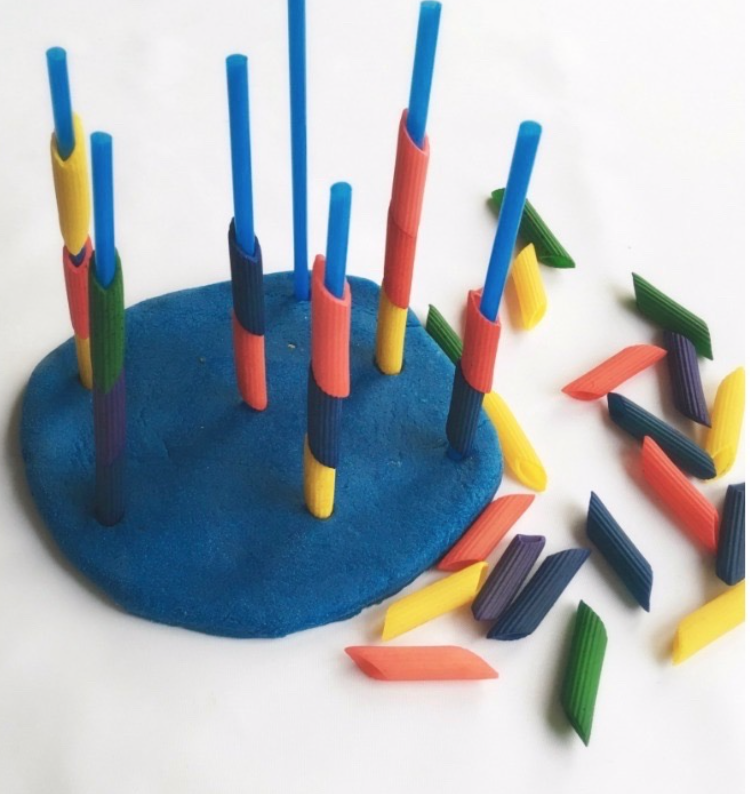
Pasta Threading
|
You will need:
Use a rolling pin to roll out your playdough into a large round base. Push some straws into the base so that they are standing upright. Thread your pasta onto the straws. Count how many straws you have. Now, count how many pieces of pasta you fit on each straw! *If you don't have straws at home, you can thread your pasta on to a string of wool to make pasta necklaces instead! If you'd like to dye your pasta, see the guide document below. |
| how_to_dye_pasta.pdf |
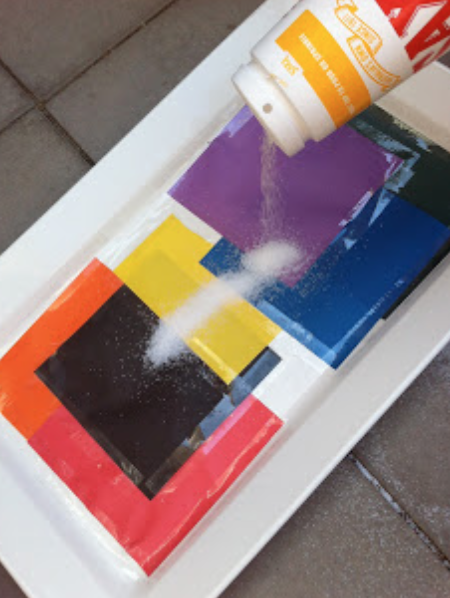
Salt Writing and Drawing
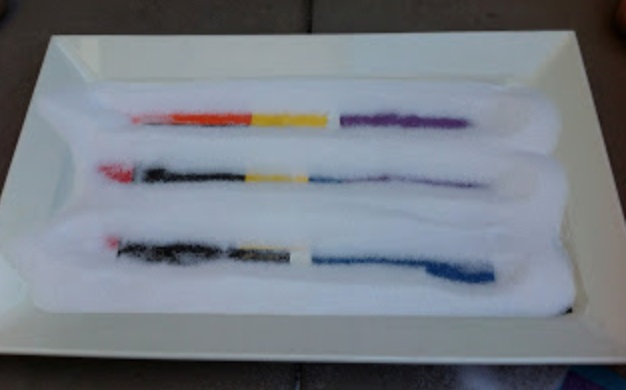
You will need:
Cover the base of an oven tray strips of different coloured paper. (Tape the strips down to stop them moving around!) Pour a thick layer of salt over the coloured paper.
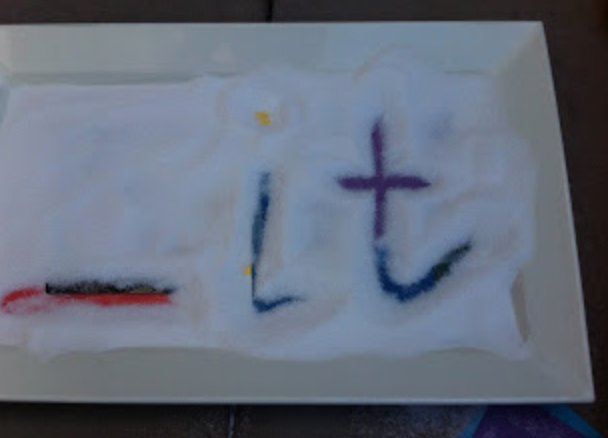
Use a paintbrush to write your name in the salt. Gently shake the tray to start again. After you've practiced writing your name for a little while, can you draw a picture of a butterfly with coloured patterns on each wing?
This task can also be done without coloured paper. If you'd like to make coloured salt, see the guide document below.
- Coloured Paper
- Tape
- Paintbrush
- Salt
- Oven tray
Cover the base of an oven tray strips of different coloured paper. (Tape the strips down to stop them moving around!) Pour a thick layer of salt over the coloured paper.
Use a paintbrush to write your name in the salt. Gently shake the tray to start again. After you've practiced writing your name for a little while, can you draw a picture of a butterfly with coloured patterns on each wing?
This task can also be done without coloured paper. If you'd like to make coloured salt, see the guide document below.
| how_to_make_coloured_salt.pdf |